Tag Archives: auduino

[safari] [@berlin] AnalGital Synth Workshop “Building an Analog-Digital Synthesizer ”

ONE MORE NEW WORKSHOP

Final schedule:

On Sunday at 7 pm. 16-02-2014
the place for the workshop is ZUKUNFT

Laskerstr. 5, 10245 Berlin-Friedrichshain, Berlin.    https://www.facebook.com/events/217883775071490/?fref=ts

Analogic synthesizers are fun. But imagine if you could program each synth and made them sound and act as you feel like!
AnalGital synths have a lot of possibilities, adding filters like envelopes, delays, decays and others.
With Analog-digital synthesizers we can mostly do what we want to. Adding some LDR (so sound is controlled by light), some Pressure Sensors or Ribbon sensors.

We will understand electronic basis and electronic basic components. we will also understand what is arduino, how it works and its community around.
We will learn how to program in arduino. And how to build a nice sound and noise arduino synthesizer.

Using Arduino Pro Mini, we will be able to build a Arduino based on granular synthesis.

you can hear here and example about the sounds that this synthesizer can make

analgytal
Needs for the workshop: if possible bring your electronic hardware tools, your laptop and soldering iron, in case you have an Arduino bring it as well l!
After we will make a jam session together with all the new synthesizers!!

It will be a 6 hours workshop, however we can go further if necessary.
the cost of the workshop is 50€.

Please, send us an email here to confirm if you are coming!!! pechblenda@riseup.net
but if you cannot confirm, and you want to come in the last minute you can come as well!!!!
please send this information to all your friends!!!

thanks to tinkerit for show us how to build one by ourselves.
<>
Pechblenda is a TranshackFeminist Bio-electro-chemical Laboratory <> established in Calafou <>. We work with free hardware and free software and mess around with electronic circuits, circuit bending, repairing devices, noise concerts, experimentation and development, giving workshops and doing tutorials DIY since 2 years ago. We are involved in many different projects and right now we are experimenting with DIY analog-digital synthesizers, between others. http://pechblenda.hotglue.me/?transhackfeminismo. We also work with gender issues, and we understand our bodies as another code to be hacked.
The nucleus of Pechblenda is made of 3 heads, 6 hands, 6 ears and 3 tongues. Pin, Julito & Klau. Each of us have different trajectories but always surrounded by the same ideals.
http://pechblenda.hotglue.me/?about%2F

Trying Auduino with Arduino Pro Mini

Miau Miau!!!

here again with some tryingsss and achievements.  :)

Now we wanted to build Auduino (already build with arduino uno)  using Arduino Pro Mini 5V 16MHz and with 30K of ram! (atmega328).

We decided this because we think that Arduino Pro Mini is more efficient, smaller and transportable and synths don’t look so big! ; and even if it looks small and tiny it is extremly powerful!

Next week two tentacles of Pechblenda are doing some workshops in Berlin and we thought that is the best idea to try them there, like this the workshop won’t be expensive as if we were working with Arduino Uno. 20140122_015957

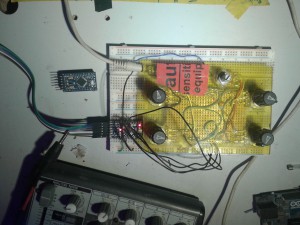
So it was easier than it looked…. hehe…

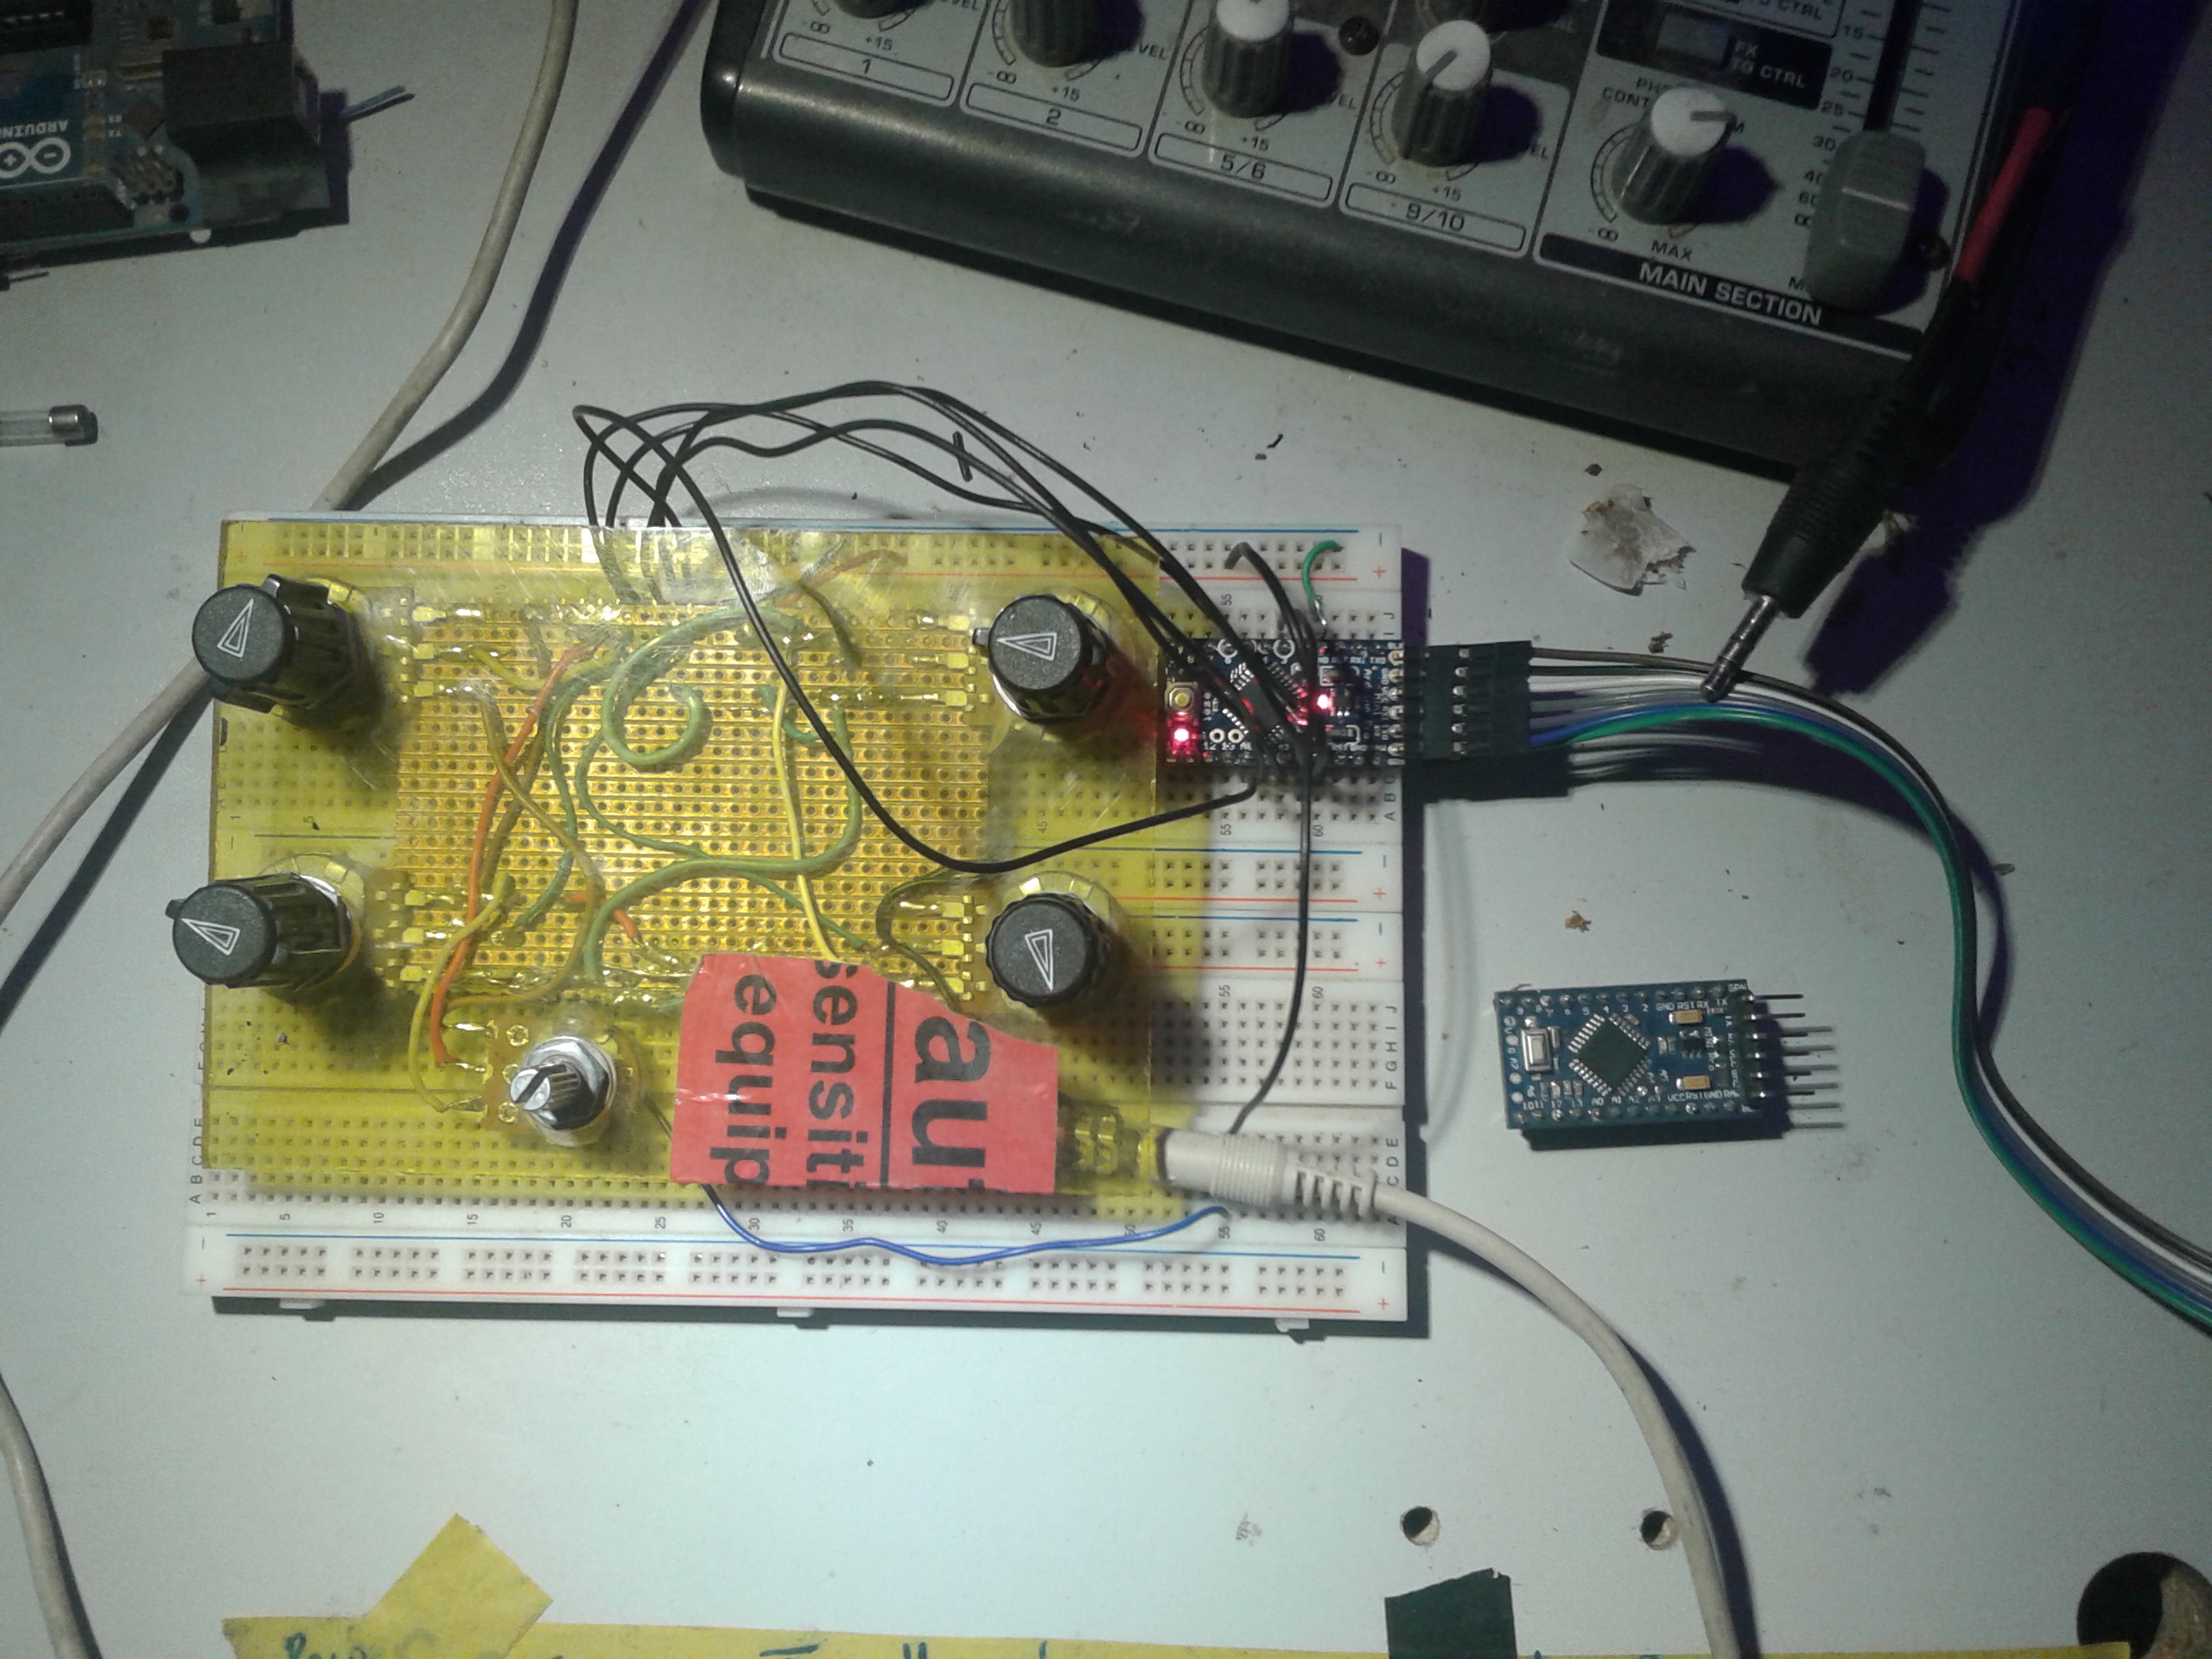
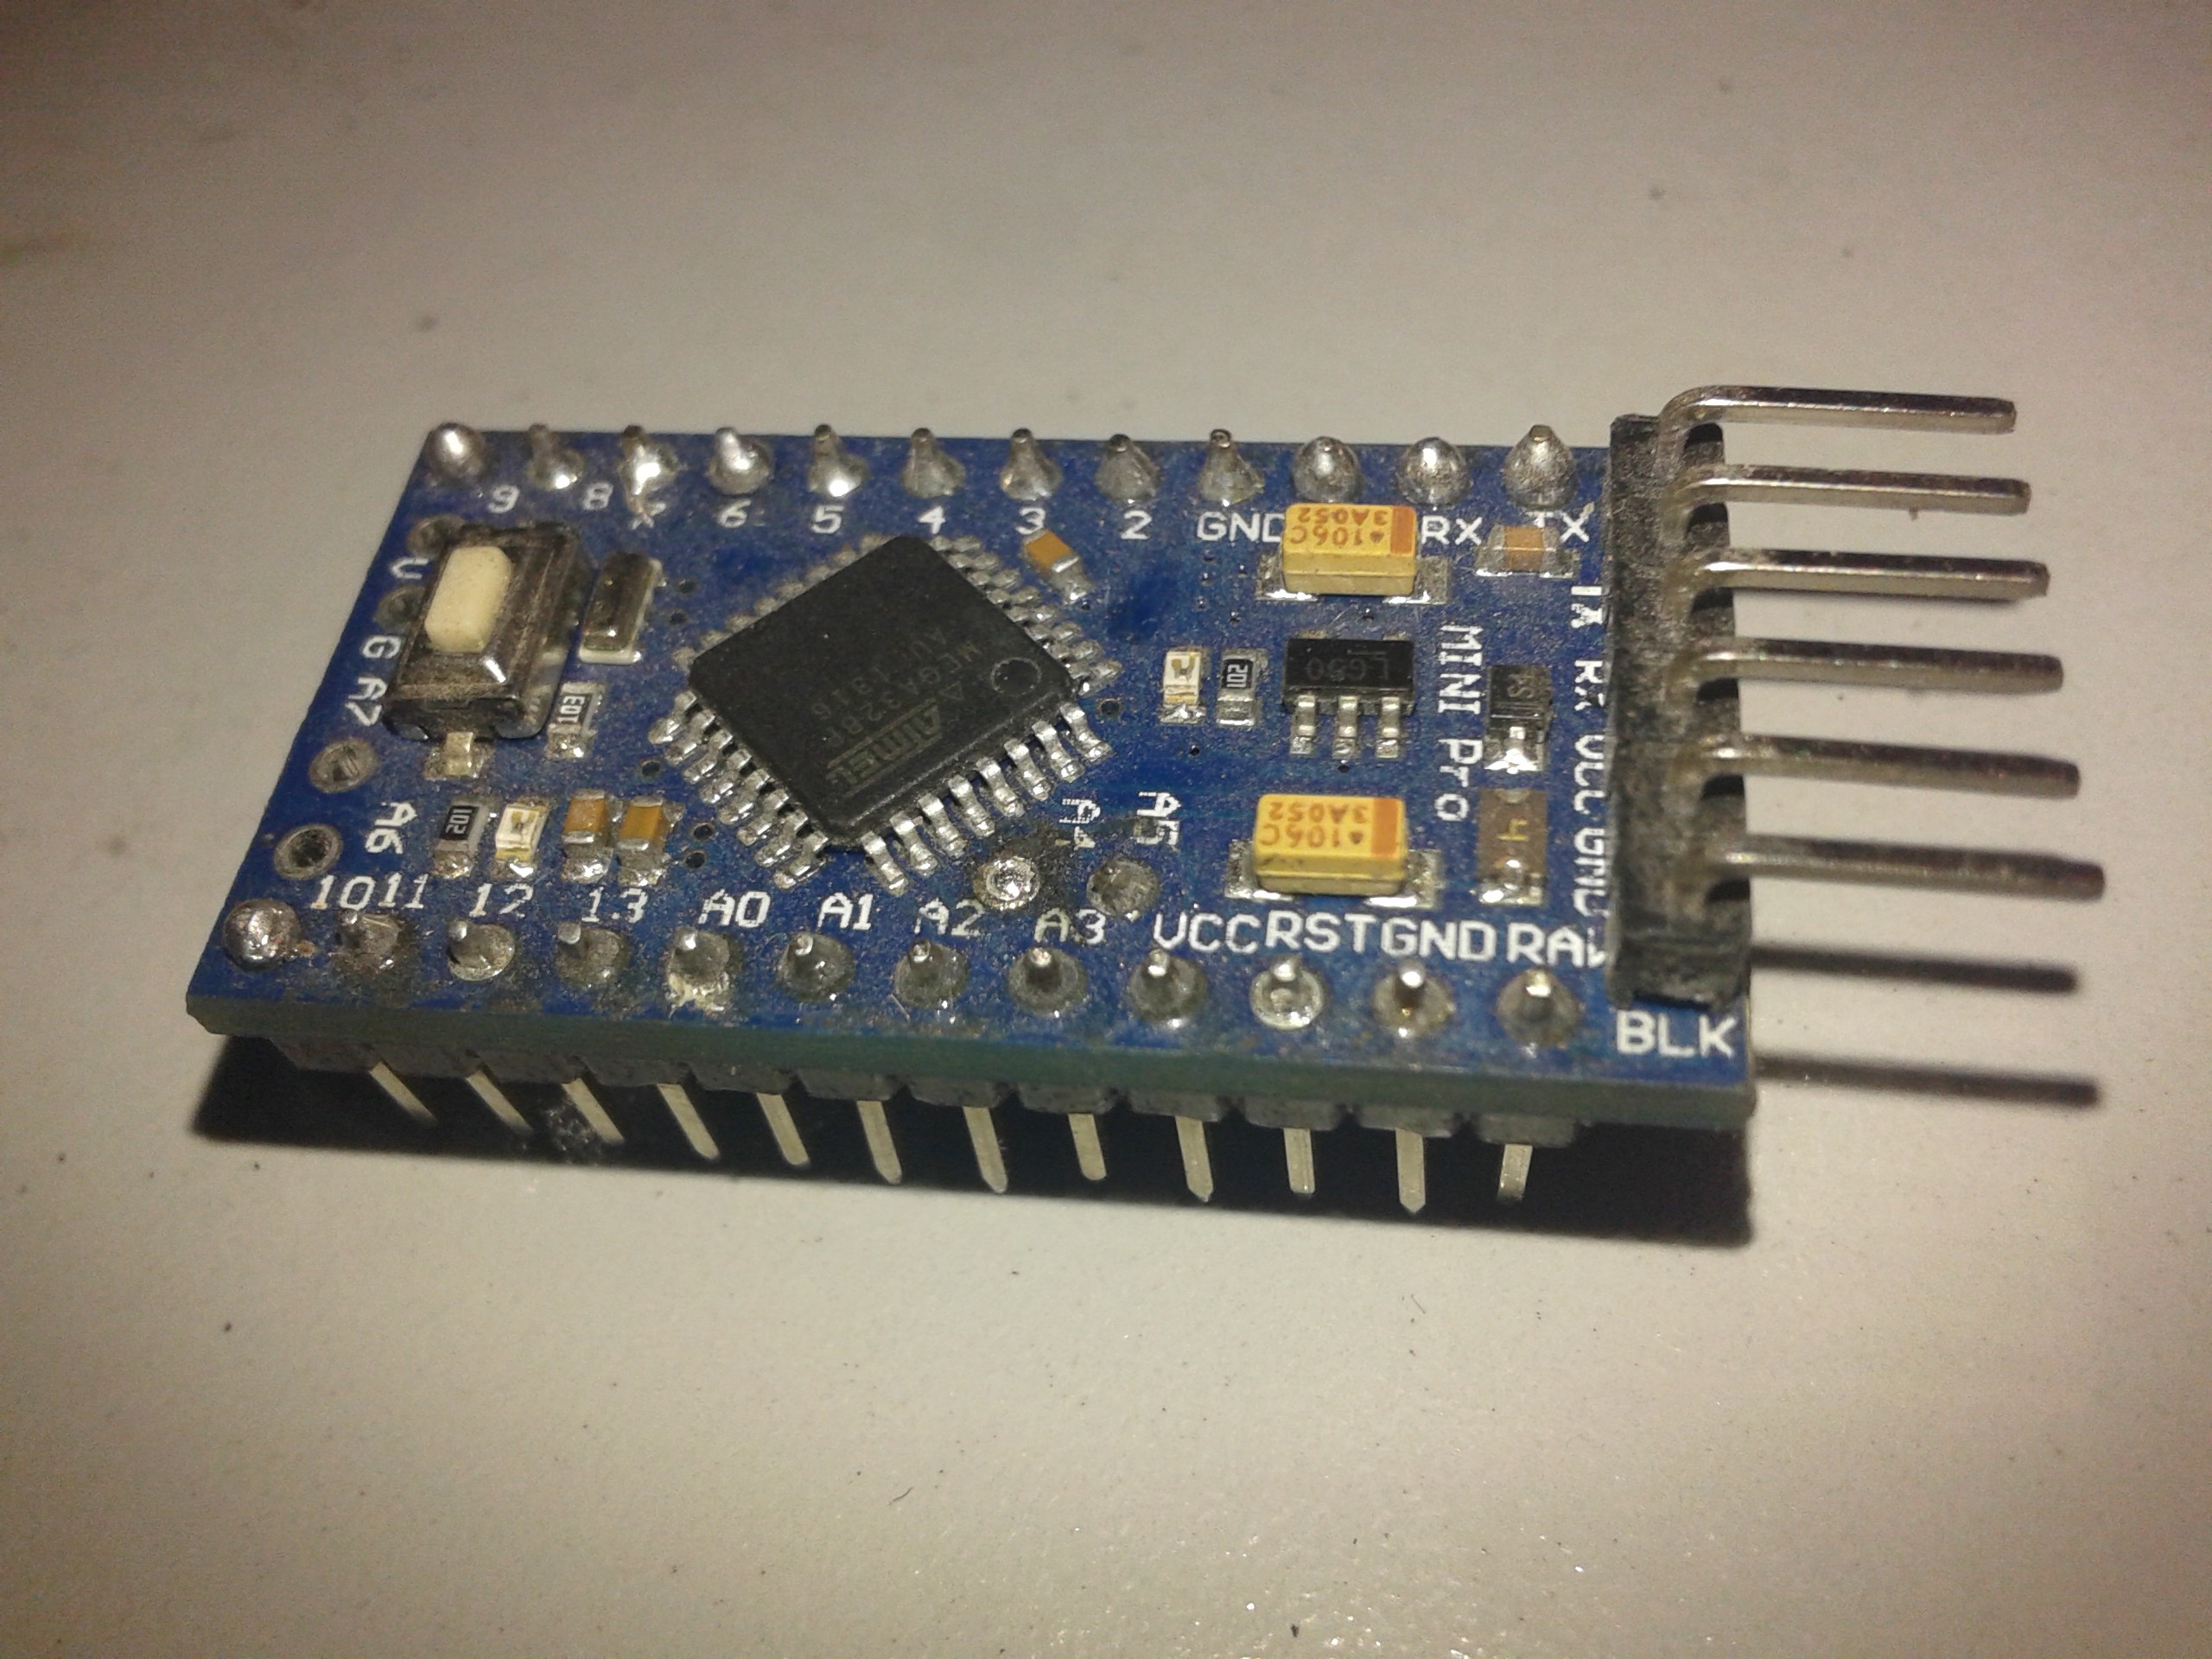
In this picture in the right we can see the space-craft we build (jjjj). We can also see in front of the protoboard an example of the Arduino Pro Mini. So what we did was:  We dissassembled the previous Auduino and took off the Arduino Uno. We put the pcb with the potentiometers to a protoboard and made the same connections that the old Auduino had. –> those are the black cables connecting the potentiometers to the analog pins of the pro mini, and other cables to connect digital output (digital pin 3)  and Vcc and GND. And about hardware by now that’s all.

About software: we just have to copy the Auduino code and follow the “// For modern ATmega168 and ATmega328 boards //    Output is on pin 3” option.

Then we connect the Arduino Pro Mini to a bootloader for being able to connect with your laptop. And compile and upload the code! With Arduino Pro Mini you need to press the reset button (on the circuit) when uploading. Check http://www.arduino.cc/en/Main/ArduinoBoardProMini for more instructions.

And that’s it!

miau miau!

20140122_020219

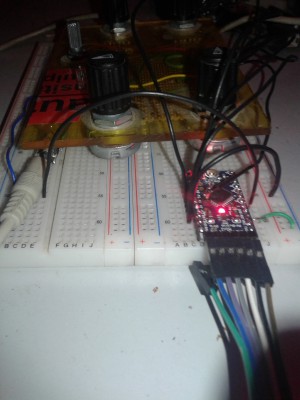
arduino pro mini on the right. and arduino pro mini with cables to bootloader and t20140122_020400he synth