Tag Archives: DIY

“EXOglands radical dynamics: fluid, tissues & bloody self-aware enhancement bionicLAB

biopunk – radical SelFpower – Analisis of fluids – citology – DIY equipment  
situated tools, microscopic maps, body fluids dinamics.
This week another pechblenda tentacle was born as part of  Softcontrol open call.  So excited!

taking back the TECH!!

I propose to make an hybrid body mapping of these forbidden or colonized places using different resources and crossdisiplinary methods as alternative medicine, DIY biolab techniches, DIT science and sociological research, grassroots communities empowerment, sexual health focus, body listening, audiovisual technologies, microscopic and inverse engineering.
Objectives
  • Increase self-anatomical knowledge trough pleasure & biomedical research
  • Generate accesible tools and technics to enhance sexual health knowledge and practices
  • Generate spaces of visibilities and debate about disident sexualities &health rights of sexworkers
  • Grassroot empowerment against sexual violence, medical institutions’ discrimination and stigmatization, and bioselfdefense (HIV tests, pregnancy tests, anticonceptive techniques, menstrual extraction, hormones and alternative pregnancy interruption information)
  • Creation of  tools for a basic and functional mobile biolab of diagnosis and check depending of communities needs.

Short description of the project:

Extreme own-body cognition, Anarchagland (female eyaculation) & male prostate, decolonial anatomy of pleasure. Unveil taboos with DIY biolab techniques, DIT science & medical hacks reverse engineering. A transdisplinary collaboration based on health issues of colectives who have been marginalized by the desensitized treatment of anything deemed promiscuous & contentious. Grassroots sexual politics empowerment.

After Workshop

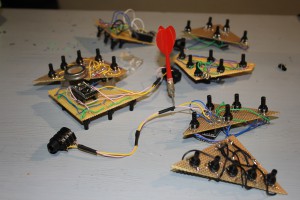
After three intense workshops, 13 Analgital Synths have been built. All of them working!

IMG_9474IMG_9454


Thanks to Where is Jesus? and ZUKUNFT for letting us the space to do the workshop.

Thanks to all the participants.

And specially thanks to Txatxe, that, as a new tentacle of Pechblenda, she helped us during all the workshops and worked with us 24/7.

IMG_9445
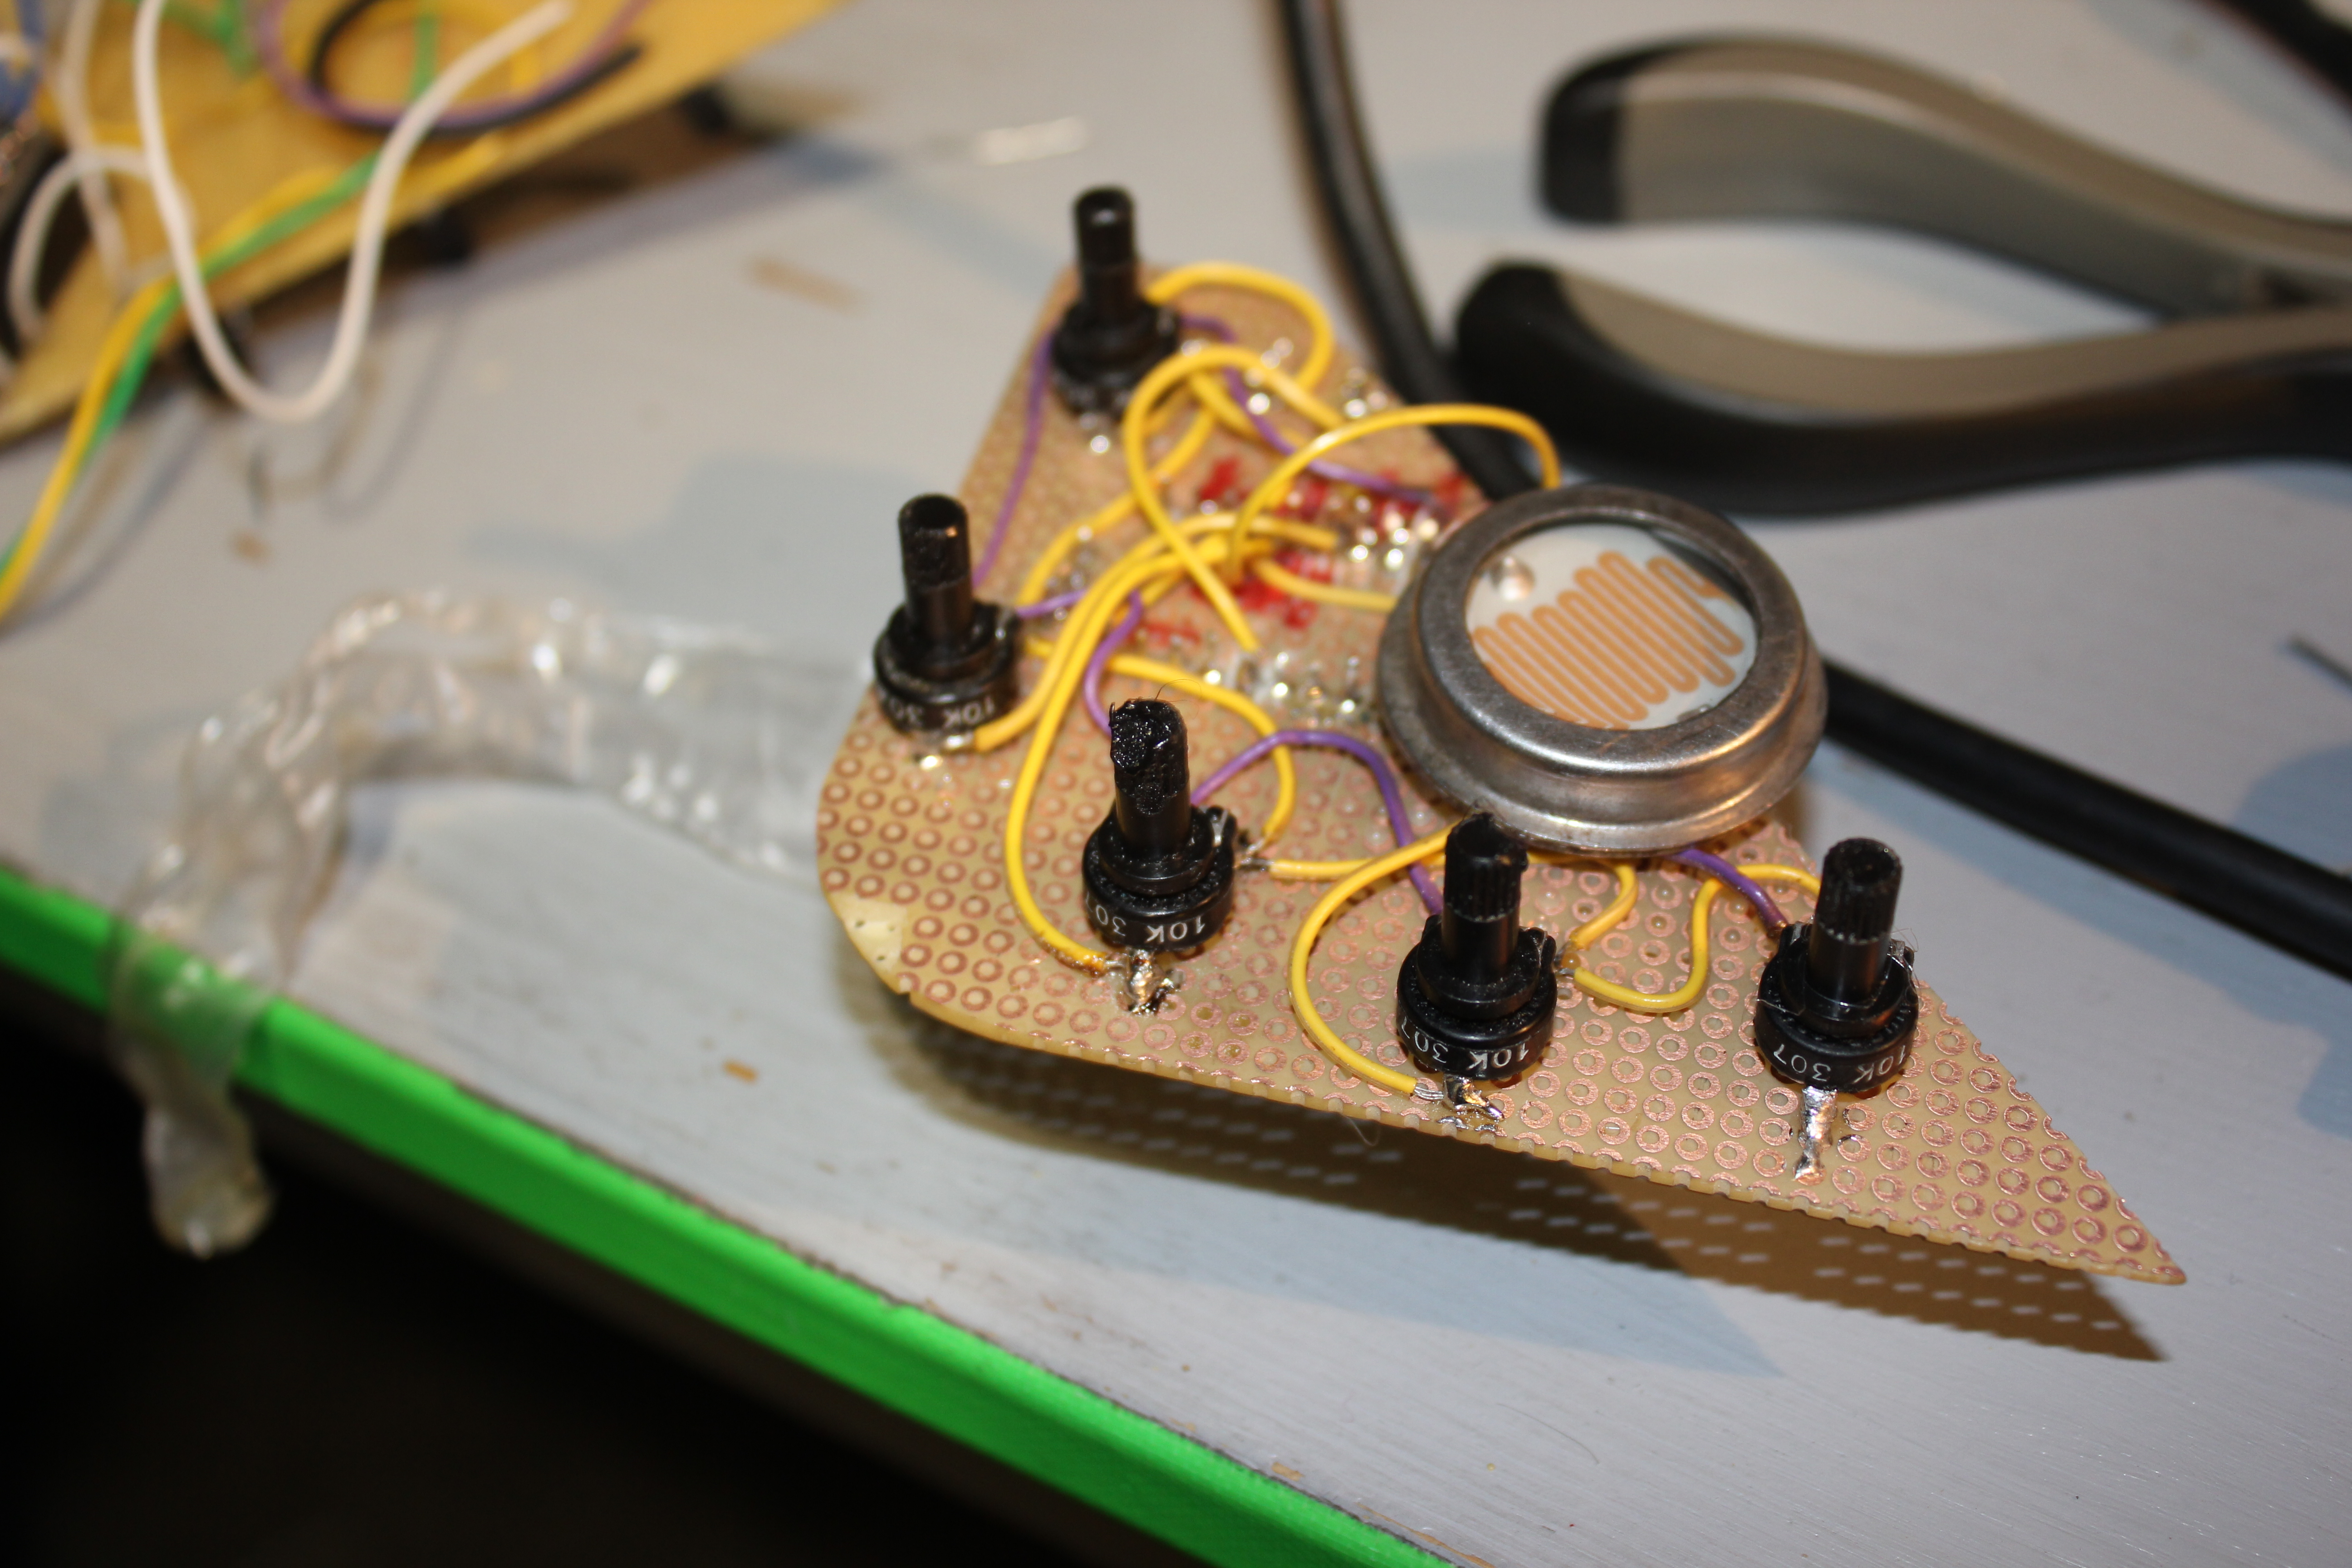
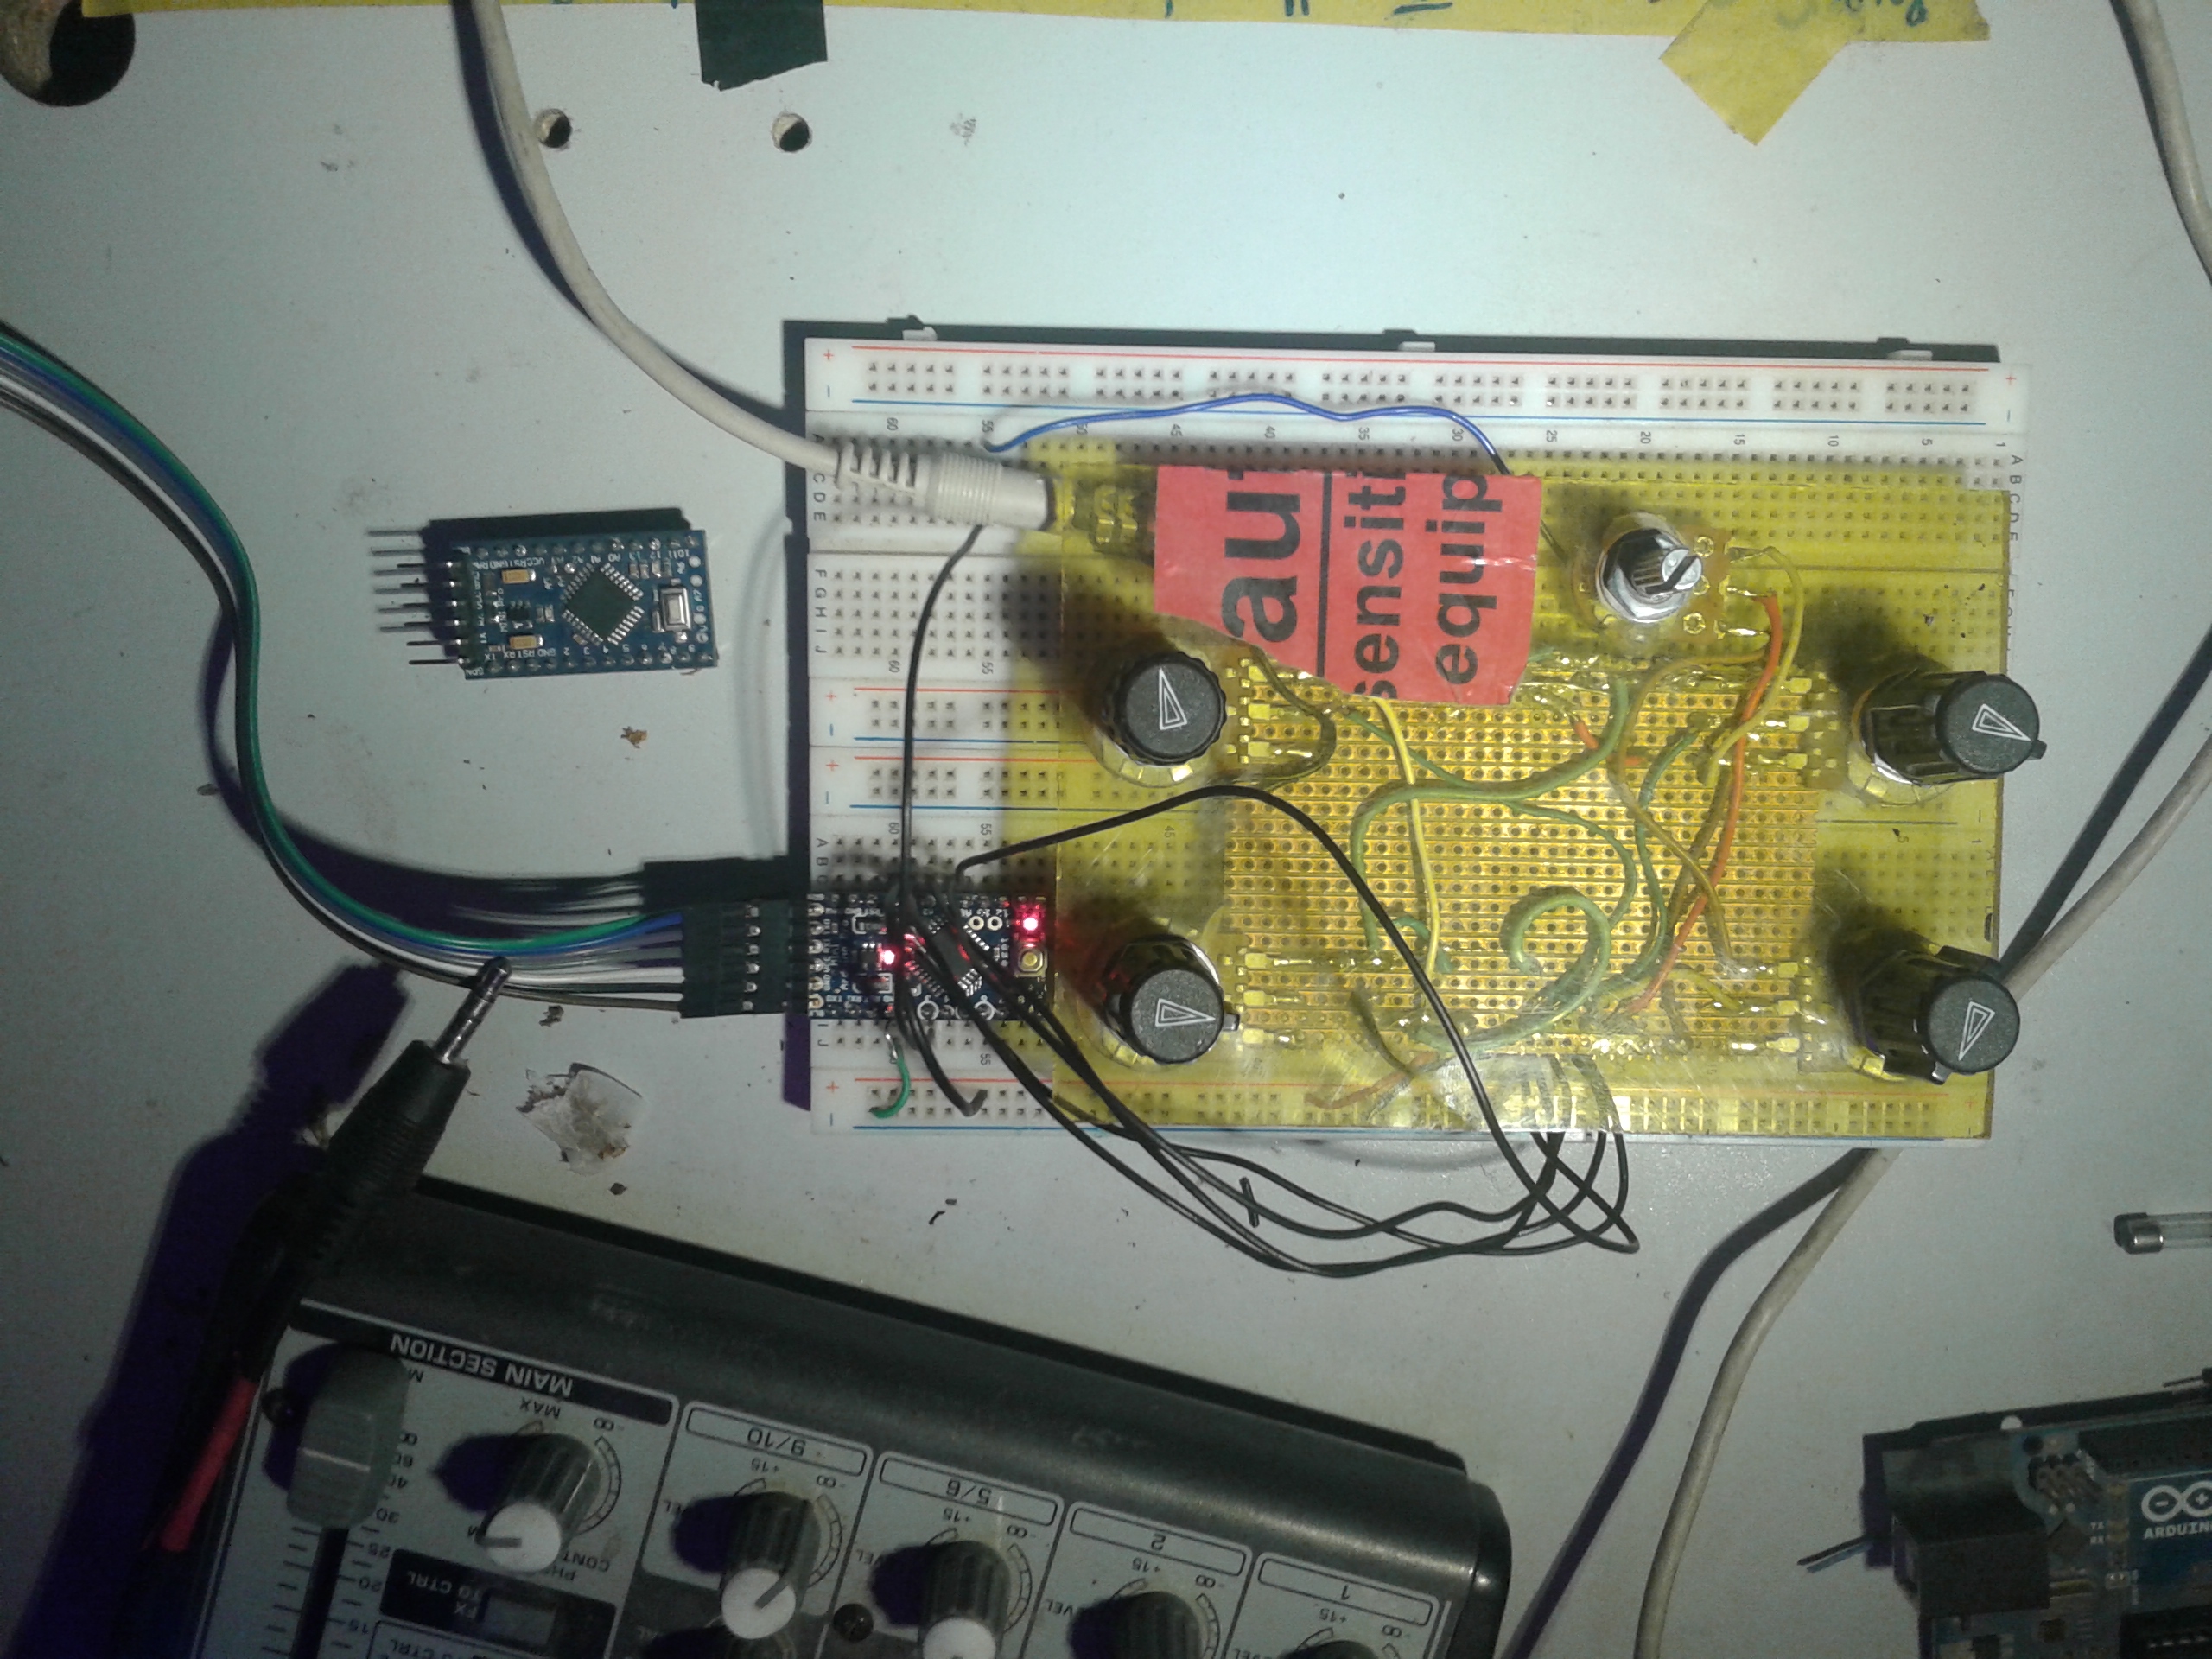
Yann Keller Synth with an LDR after the potentiometer.


IMG_9390
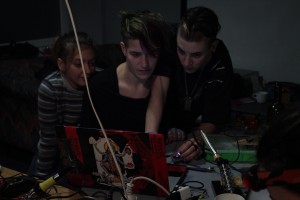
Here having some problems while uploading the code… our faces and bodies full given to the debuggggg


IMG_9364
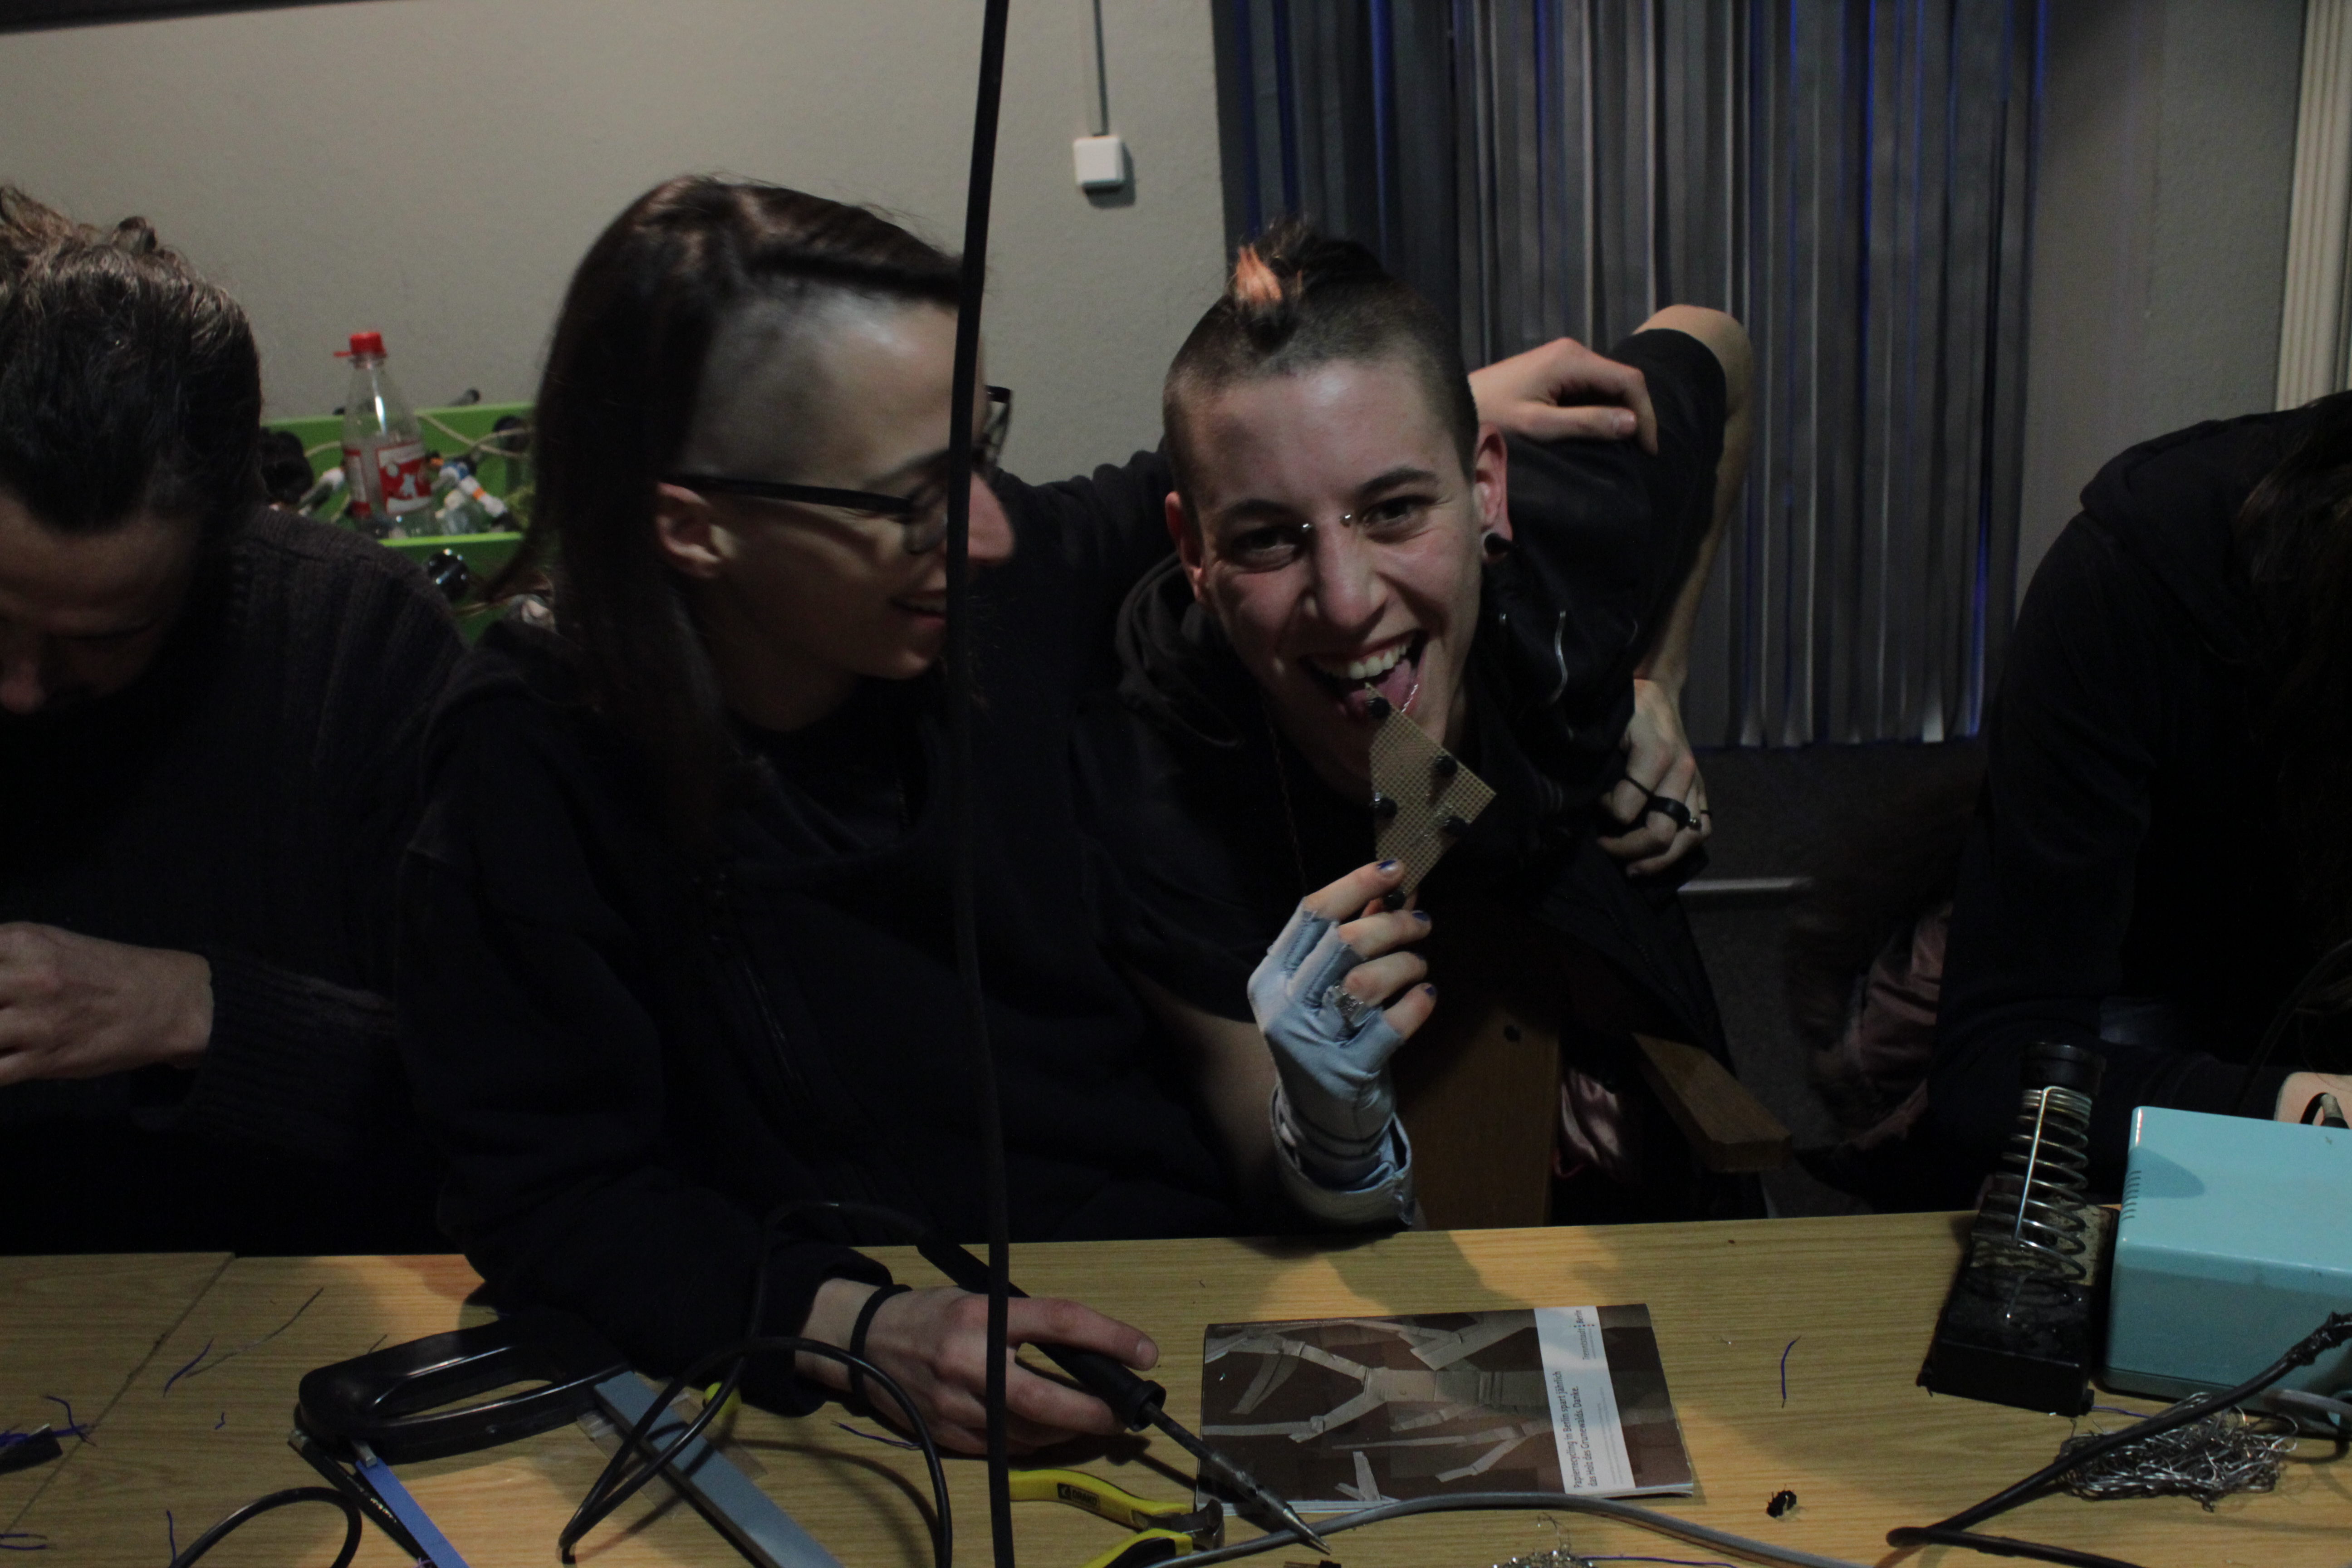
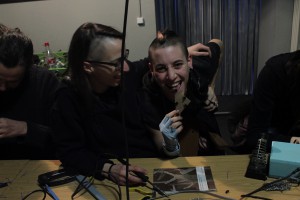
Sucking and playing with the Synth..


20140122_020400
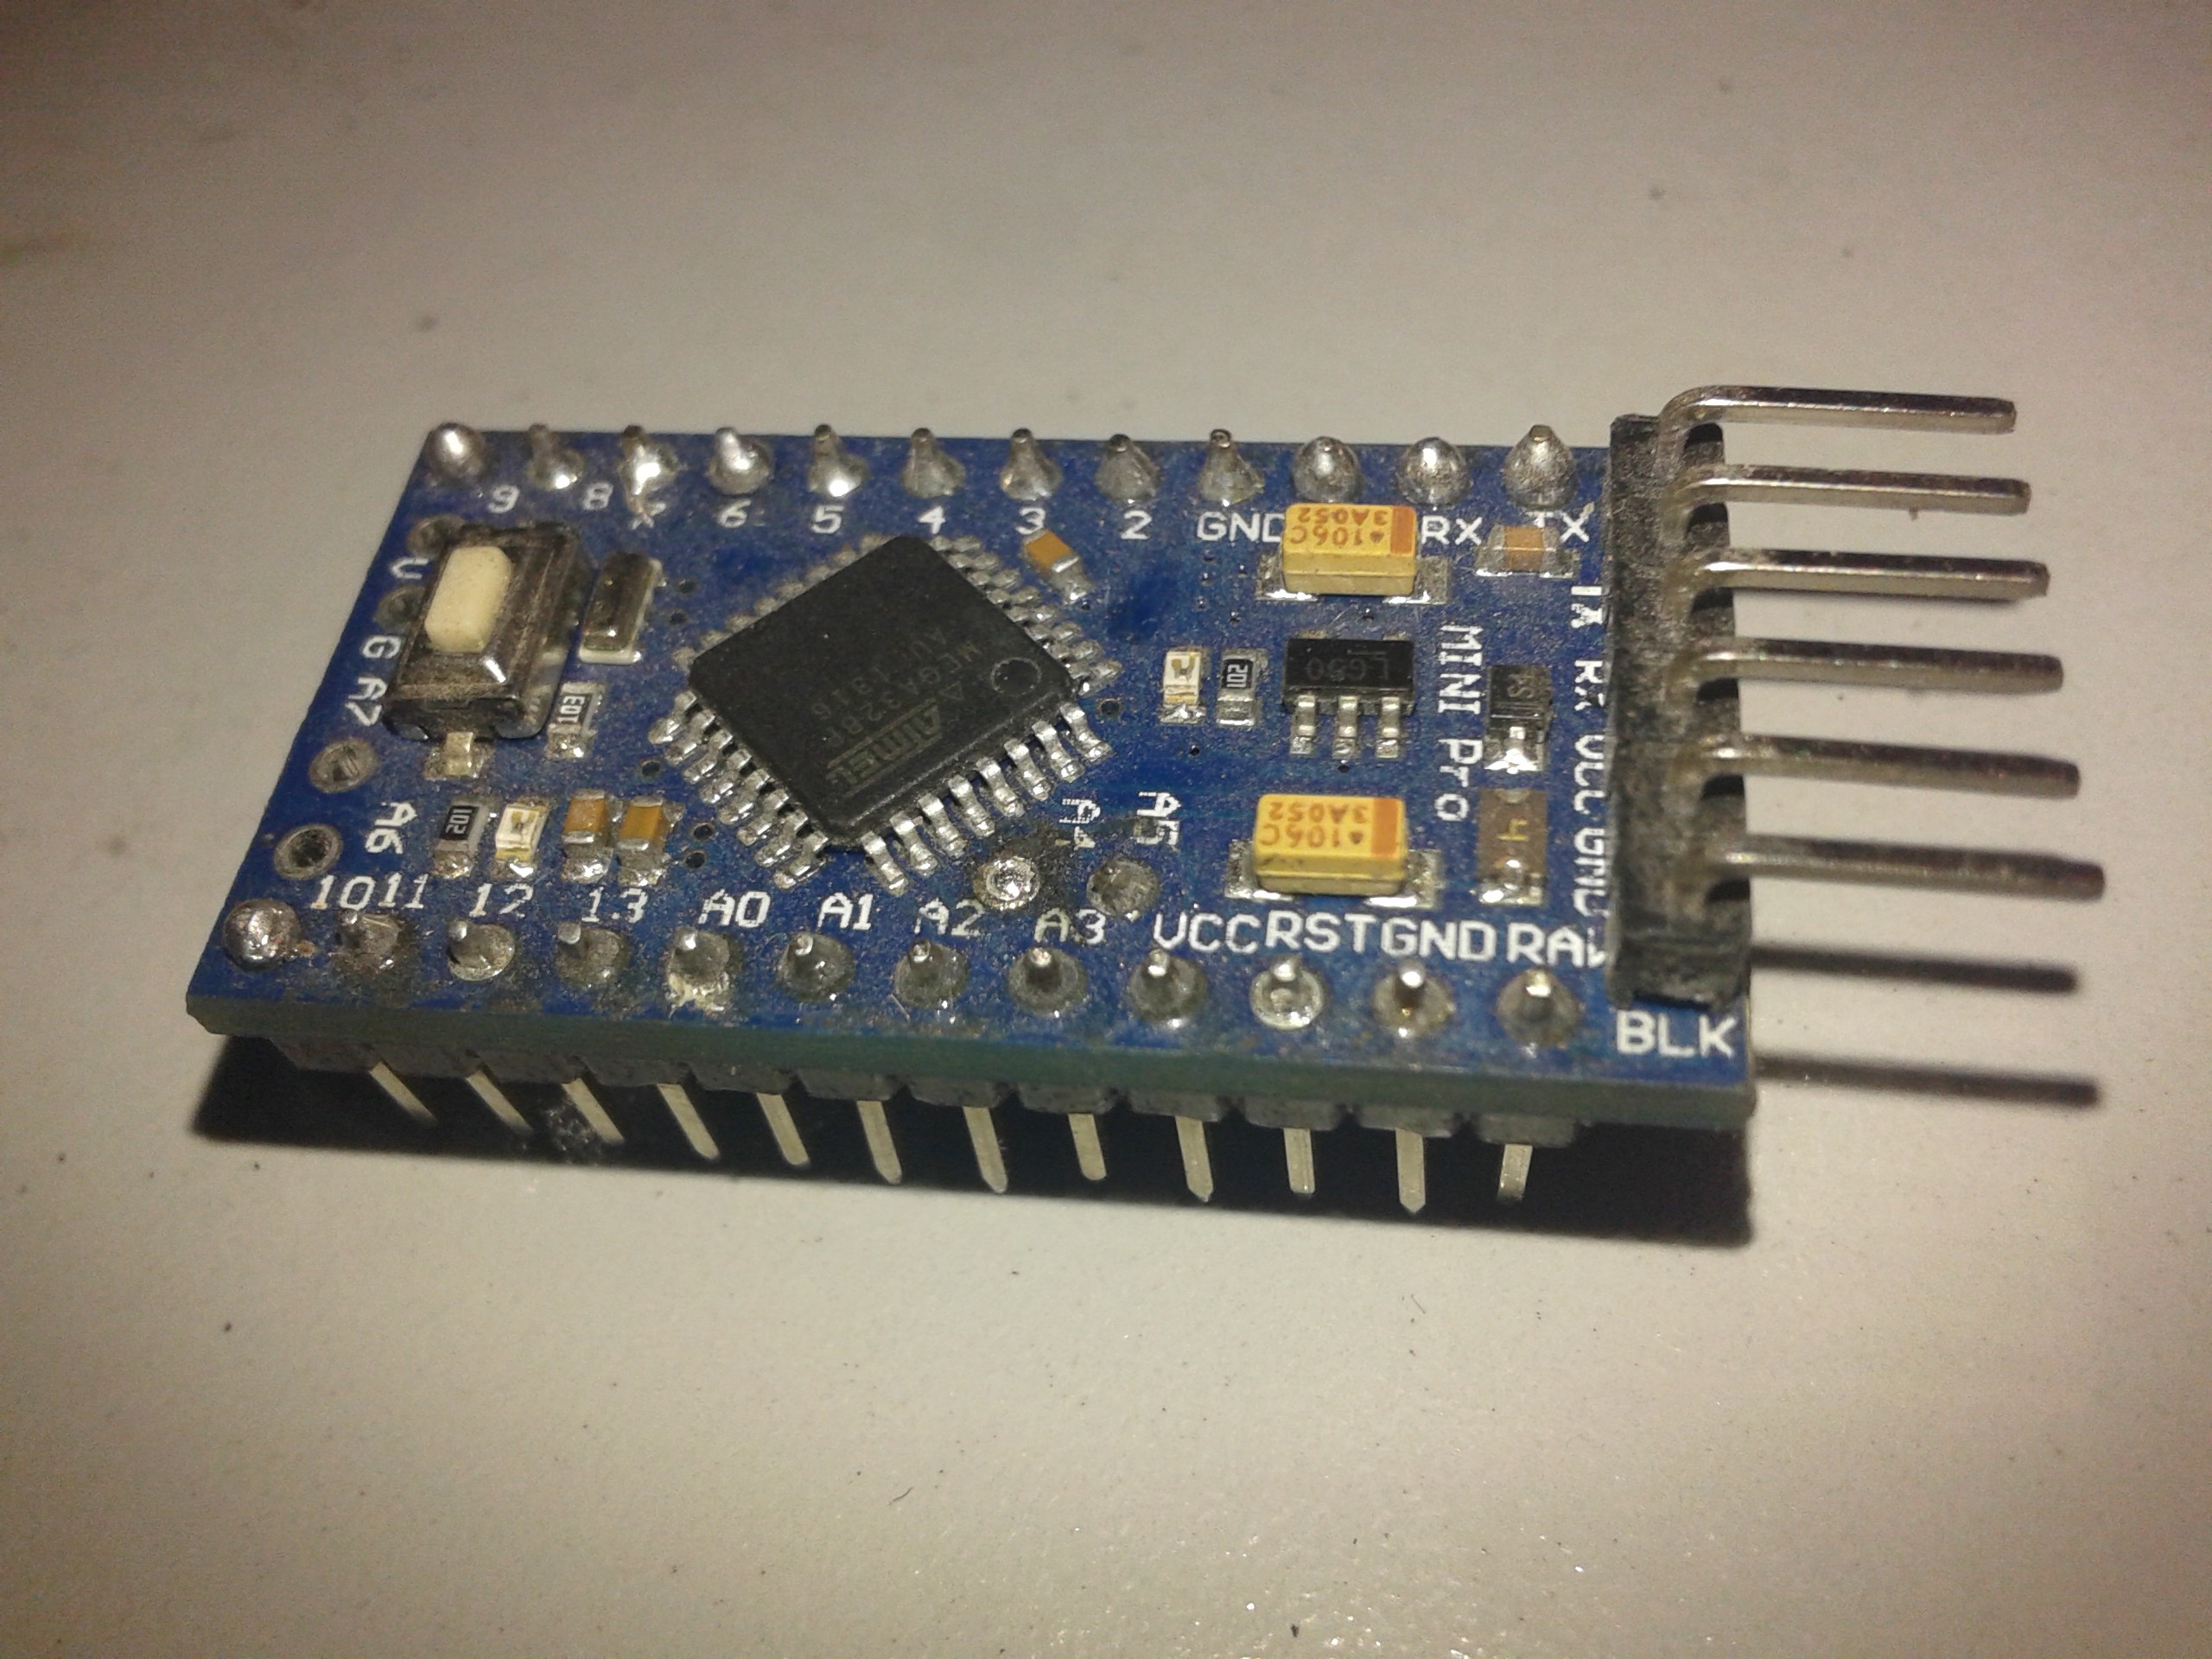
Our Lover: Arduino Pro Mini


20140216_235818
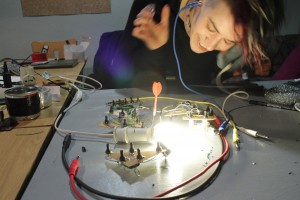
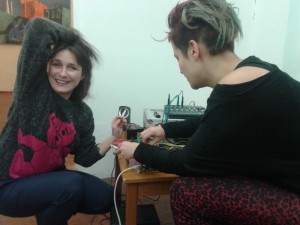
Debugging with Kasia. Finally it worked! Potentiometers always make us pass through some bad emotions and sensations… :SSS


20140216_235953
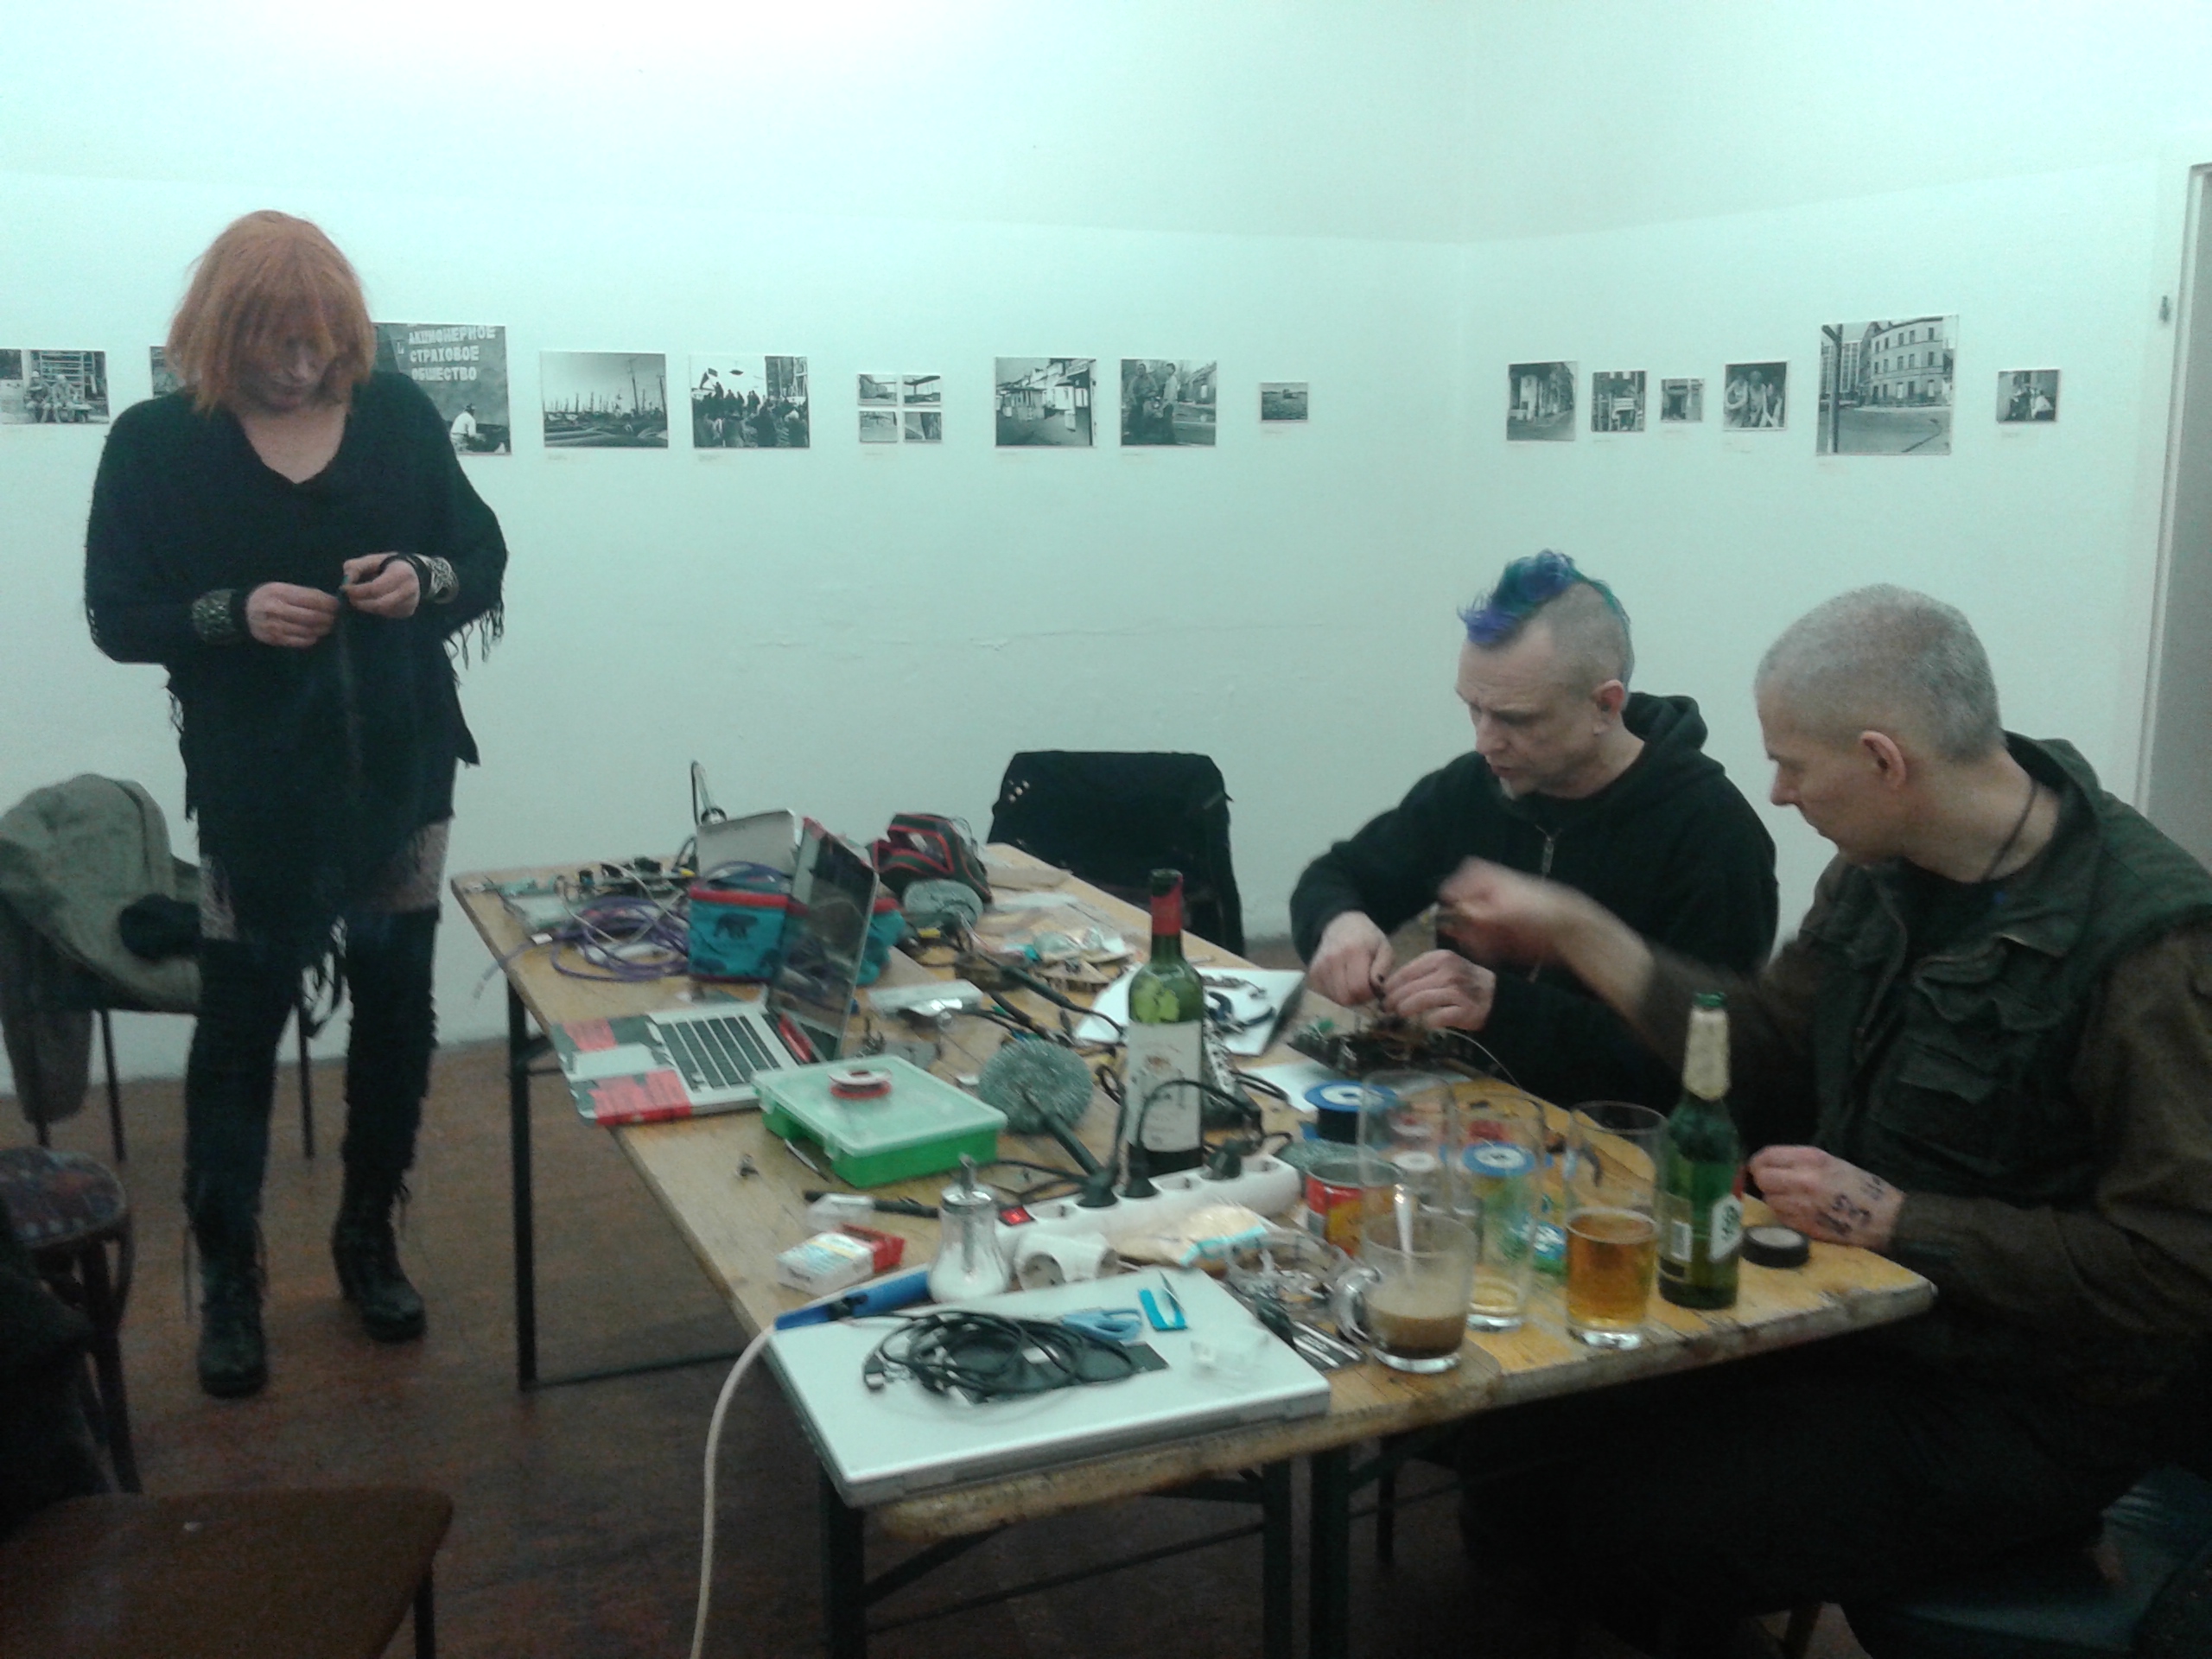
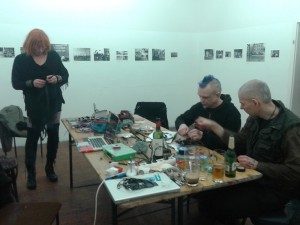
Final workshop with Dr Nexus, Yann Keller and Jo Frgmnt.


20140217_000035
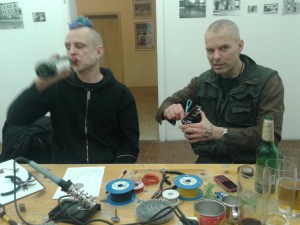
Dr Nexus and Jo Frgmnt. Jo using a scissor as a dremel to make a hole.. always using the wrong tools for concrete actions…

Jo arrived to the workshop as a fresh air information dealer for us! we spent hours talking about chemistry, electronics, live in its way… impressionant!


20140216_154308
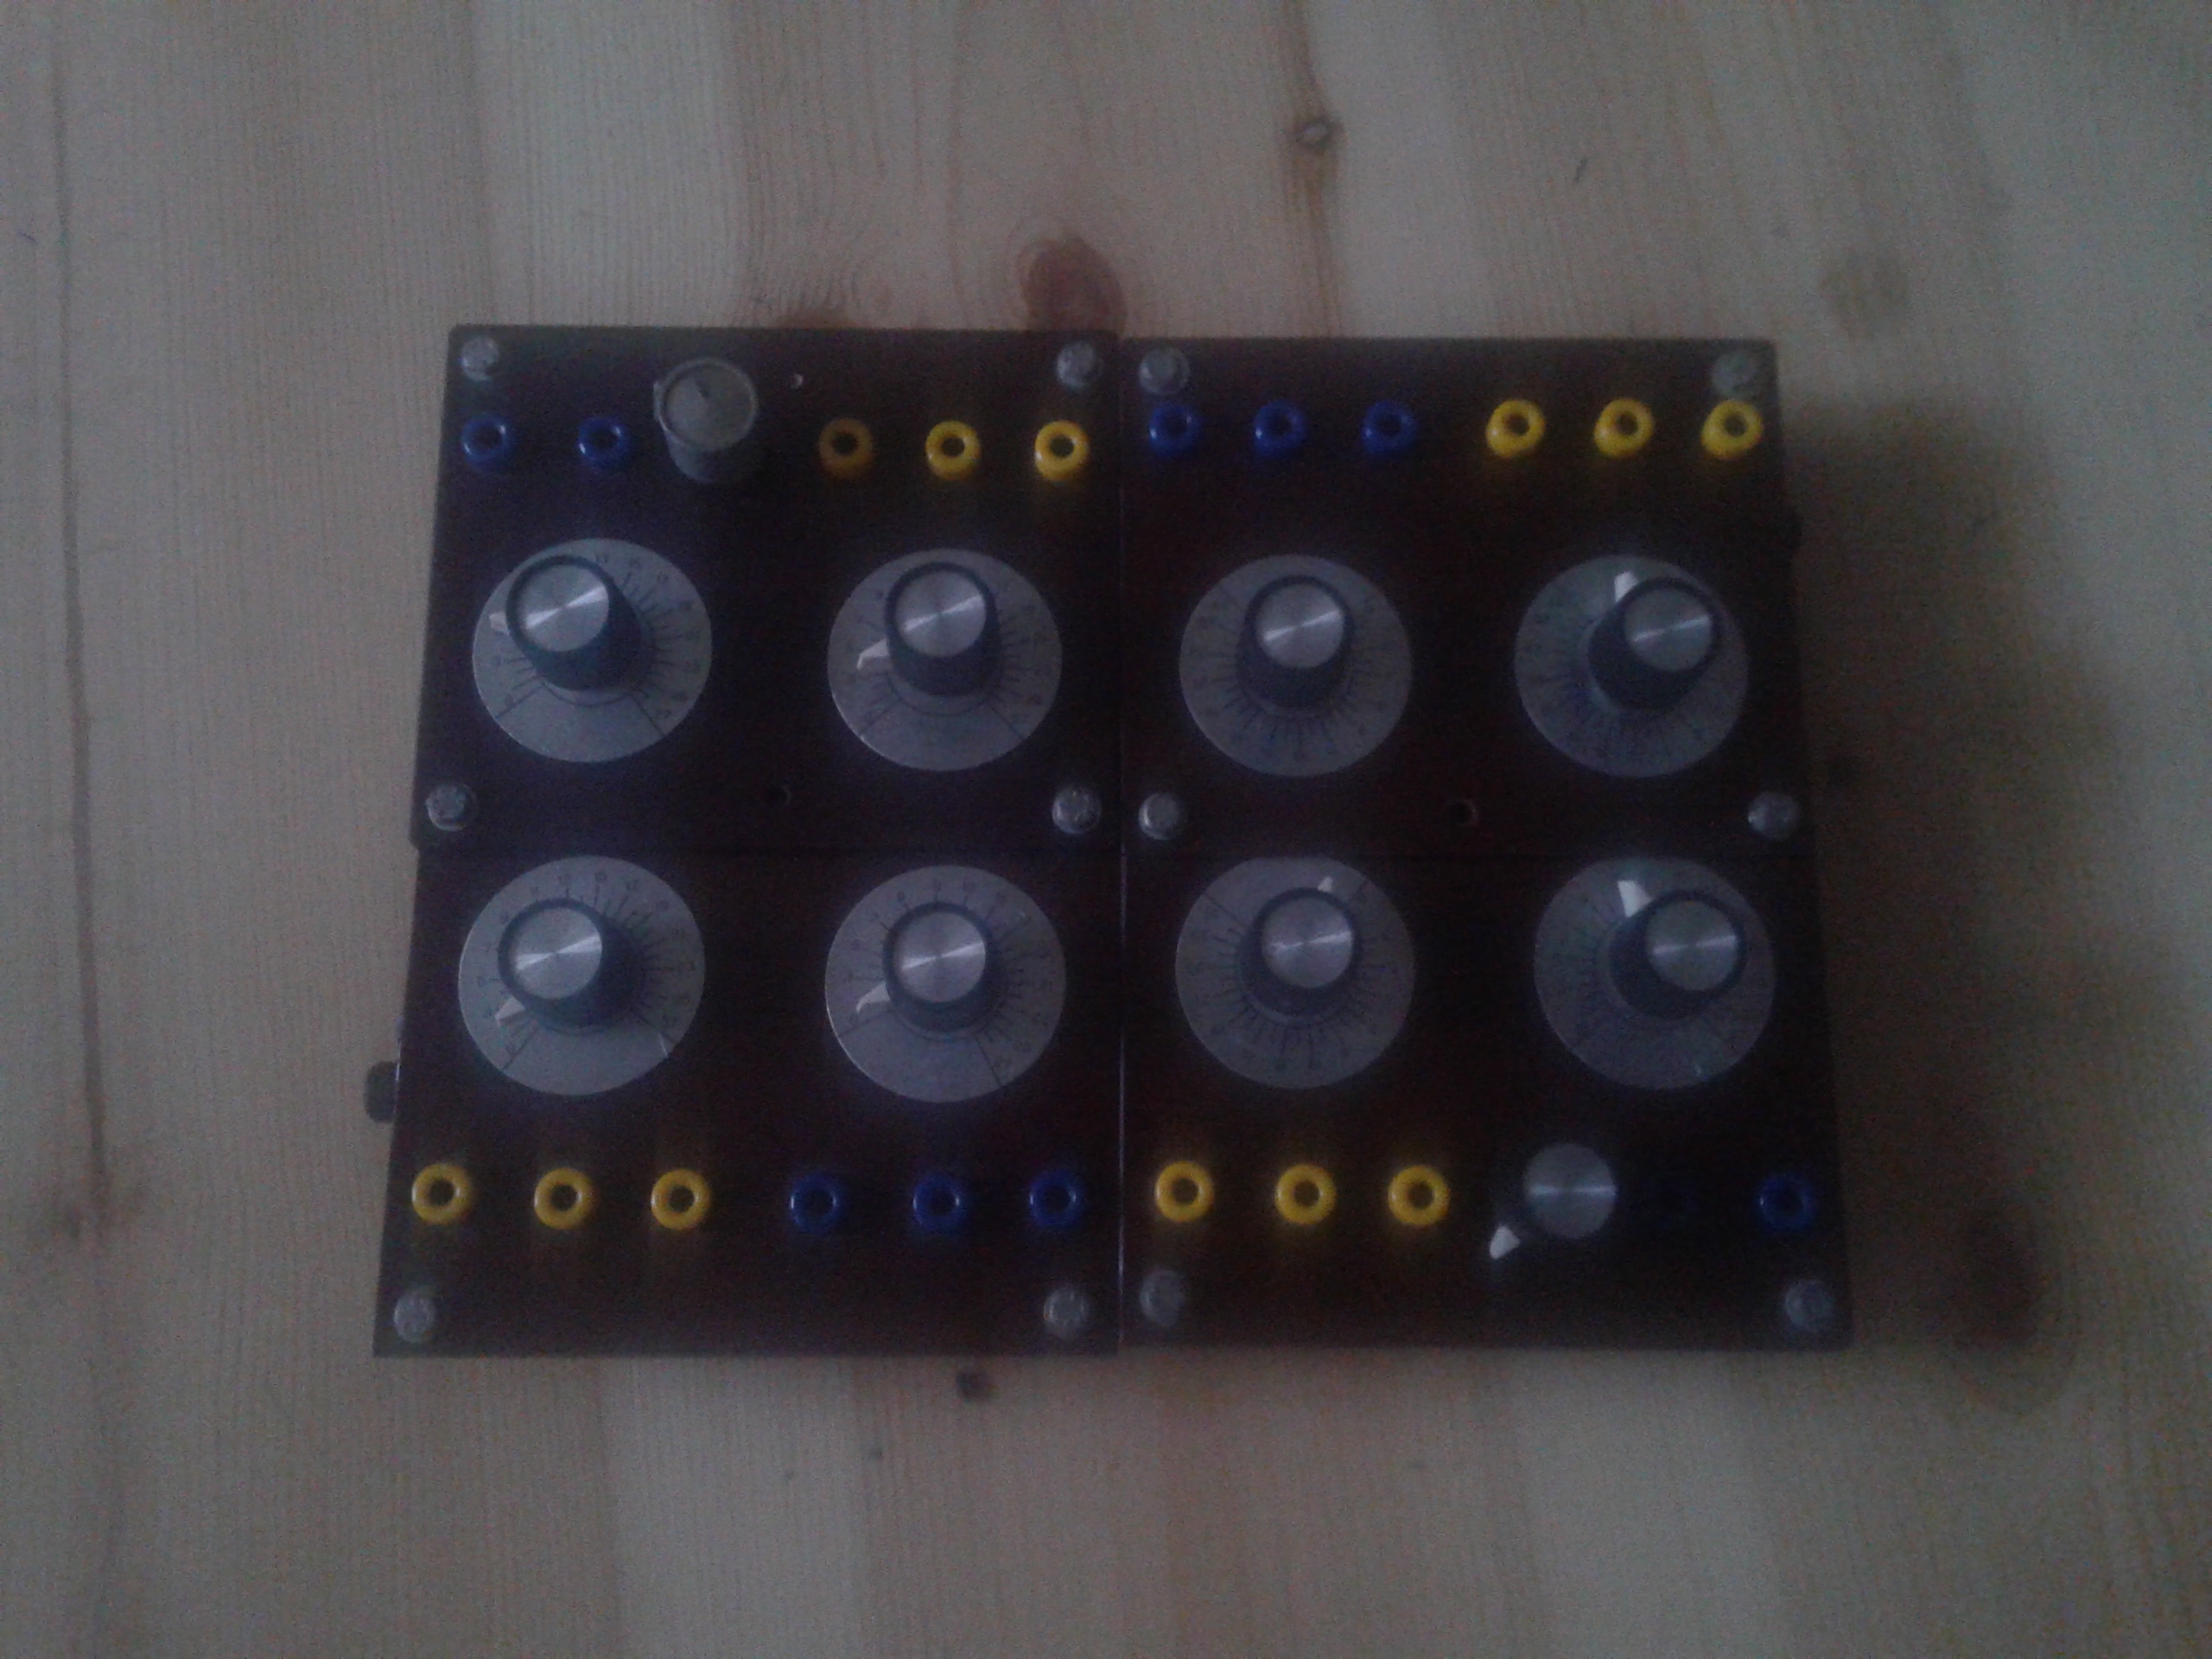
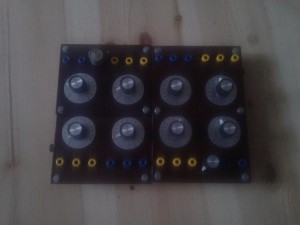
Final construction of the synth. Done by Pin and Iratxe.

As Dr Nexus said: it is a BitchBlenda construction!! :)


[youtube]http://www.youtube.com/watch?v=DK7chkf6vIk[/youtube]


Trying Auduino with Arduino Pro Mini

Miau Miau!!!

here again with some tryingsss and achievements.  :)

Now we wanted to build Auduino (already build with arduino uno)  using Arduino Pro Mini 5V 16MHz and with 30K of ram! (atmega328).

We decided this because we think that Arduino Pro Mini is more efficient, smaller and transportable and synths don’t look so big! ; and even if it looks small and tiny it is extremly powerful!

Next week two tentacles of Pechblenda are doing some workshops in Berlin and we thought that is the best idea to try them there, like this the workshop won’t be expensive as if we were working with Arduino Uno. 20140122_015957

So it was easier than it looked…. hehe…

In this picture in the right we can see the space-craft we build (jjjj). We can also see in front of the protoboard an example of the Arduino Pro Mini. So what we did was:  We dissassembled the previous Auduino and took off the Arduino Uno. We put the pcb with the potentiometers to a protoboard and made the same connections that the old Auduino had. –> those are the black cables connecting the potentiometers to the analog pins of the pro mini, and other cables to connect digital output (digital pin 3)  and Vcc and GND. And about hardware by now that’s all.

About software: we just have to copy the Auduino code and follow the “// For modern ATmega168 and ATmega328 boards //    Output is on pin 3” option.

Then we connect the Arduino Pro Mini to a bootloader for being able to connect with your laptop. And compile and upload the code! With Arduino Pro Mini you need to press the reset button (on the circuit) when uploading. Check http://www.arduino.cc/en/Main/ArduinoBoardProMini for more instructions.

And that’s it!

miau miau!

20140122_020219

arduino pro mini on the right. and arduino pro mini with cables to bootloader and t20140122_020400he synth